

This post may contain affiliate links
We made these beautiful DIY Kraft tag place names for our wedding and today I wanted to talk you through exactly what we did as these are so easy and cheap to make.
One of the things I regret most about our wedding is the number of DIY projects we took on. Our wedding venue was completely DIY which gave us a huge amount of freedom in what we could do, but also meant a lot of work.
I’ve written before about how I’d wished we’d paid out more and took on less ourselves – something which is easy to say with hindsight!

However, some of our DIY wedding projects did actually go really well and this was one of them, making our own DIY Kraft Tag place names for the table.
As we only had around 40 guests at our wedding it wasn’t over time-consuming and I was very lucky that one of my bridesmaids did the bulk of these for me (thanks Zoe!)
How To Make DIY Kraft Tag Place Names
What You’ll Need
- Kraft Tags – we bought ours from Amazon where there is a good choice of colours, shapes and cutouts, we chose hearts but you could go plain if you wanted to.
- Letter printing set – also from Amazon although I have since seen them in Poundland.
- Ink Pad – these can be picked up from craft shops such as Hobbycraft.
- Ribbon/String – any will work you could match this with your wedding colours.
- Flowers (optional) – I’ve pictured the tags here with dried lavender and at our actual wedding we used waxflowers which were provided by our florist. You can add whatever you like or the tags could be attached to your wedding favours.
- A list of all of your wedding guests.
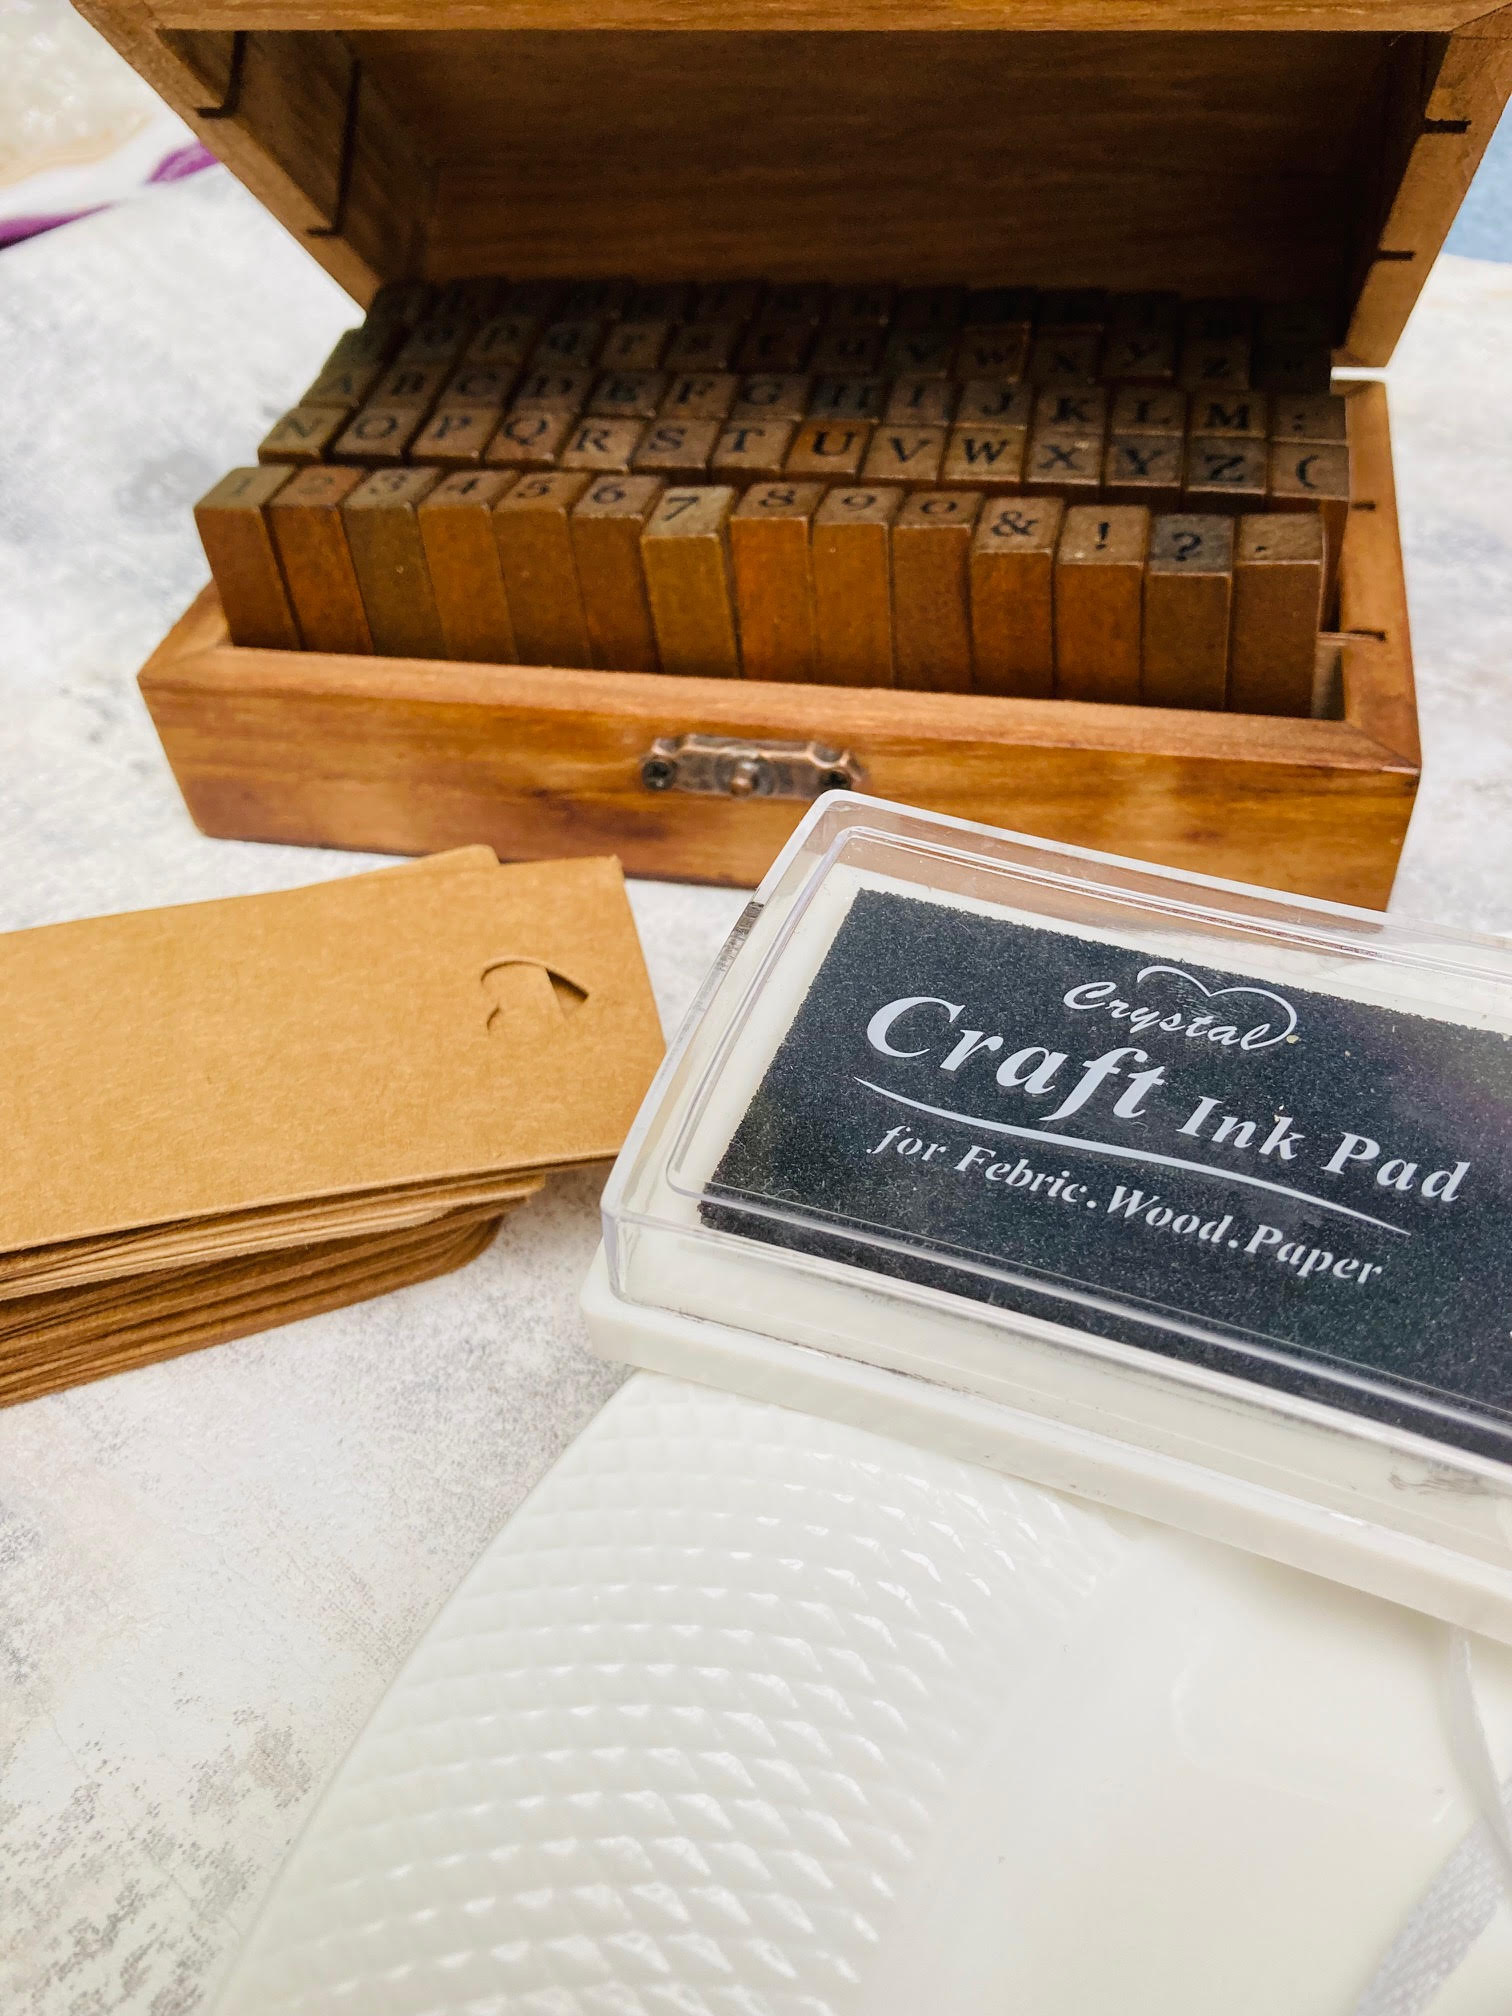
To Make Your DIY Kraft Table Name Places
The actual making of the tags is pretty simple:
- Choose your first letter and gently press it into the ink pad.
- Print the letter onto the kraft tag and repeat until each name is complete.
- Leave for five minutes to allow the ink to try.
- Thread with ribbon if required.
Sounds easy right? Here are some things to consider before getting started.
How are you going to write your guests’ names?
It’s a wedding so you may want to go super formal use titles and surnames such as Mr & Mrs although if you have a lot of family attending you may need to add initials too so avoid confusion where lots of people have the same surname.

You could do everyone’s full names or just first names or even make things informal with nicknames and other familiar terms such as Granny.
One thing to consider is the time it’s going to take – adding surnames will double the time this project takes so only add them where you have duplicated names and initials would be my advice.
Practice Makes Perfect
Getting these right takes a little bit of time and a little bit of practice. Practice writing out names with the ink and stamps before starting with the actual kraft tags so you can get a feel for how much pressure to use. You could also mark a line on the tags to make sure the letters stay even, although personally I quite like the slightly more rustic look!
Order More Tags Than You Need
It’s likely you’ll need more tags than your number of guests as you’ll probably mess up at least a couple, either with too much ink, smudges, or accidental wrong spellings.
Leftover tags could always be used for other projects and they make great gift tags at Christmas.
Triple Check Spellings
Before getting started you’ll want to triple check the spellings of all of your guests’ names and have them written down clearly if anyone is helping you make these tags. My husband has an aunt whose name I can never remember whether it’s a Y or an IE and I always have to check. Facebook can be handy for this or a quick call to a family member.